May 15, 2020
How to decommission your water dispenser
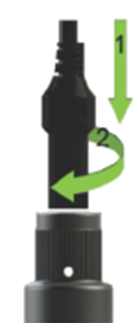
With many people Australia working from home, you may need t...
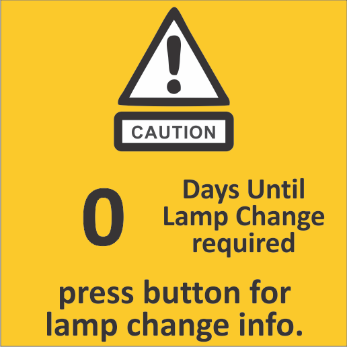
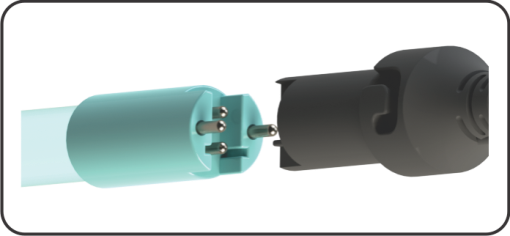
After the lamp life has expired or if there is a lamp failure, the UV lamp needs to be replaced.
Guide Suits:
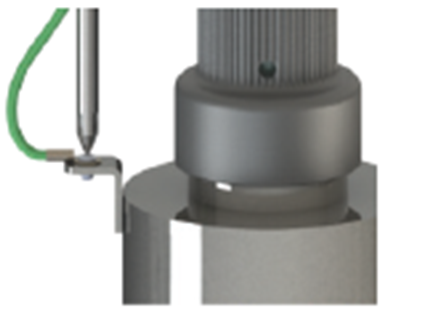
We recommend wearing cotton gloves when replacing the lamp, and only touching the ceramic ends. Any smudges on the clear glass lamp tend to turn black when the lamp is turned on, reducing it's disinfection effectiveness.
Each time the lamp is replaced, we recommend either cleaning or replacing the Quartz sleeve, which allows the UV light to shine through into the water. Familiarise yourself with Quartz replacement guide to decide whether to purchase a spare Quartz sleeve and replace it at the same time as the lamp.
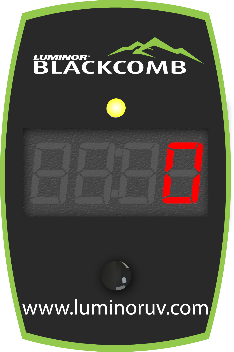
The controller will notify you when it is time to replace the UV lamp:
Congratulations on replacing your UV lamp!
Ensure there is 5 micron filter before the UV system - For UV disinfection to be effective, 5 micron (or finer) prefiltration is required before the UV system. This prevents 'shadowing' where clumps of bacteria pass through the UV system. When shadowing occurs, some of the bacteria on the outside of the clump are deactivated, but many remain active which can cause sickness and disease. Remember, the human eye typically can't see individual particles smaller than 30 microns in size, so the water may appear clean while still being a danger to health.
Change the pre-filters every 6-12 months - Most UV system setups have 1-3 prefilters removing contaminants in the water and ensuring the UV disinfection stage works effectively. We recommend changing all prefilters every 6-12 months to prevent bacterial buildup within the cartridges. However, the most important one to replace is the last filter before the UV. This ensures that clumps of biofilm do not build up and break off the downstream side of the filter and pass through the UV system without being disinfected.


